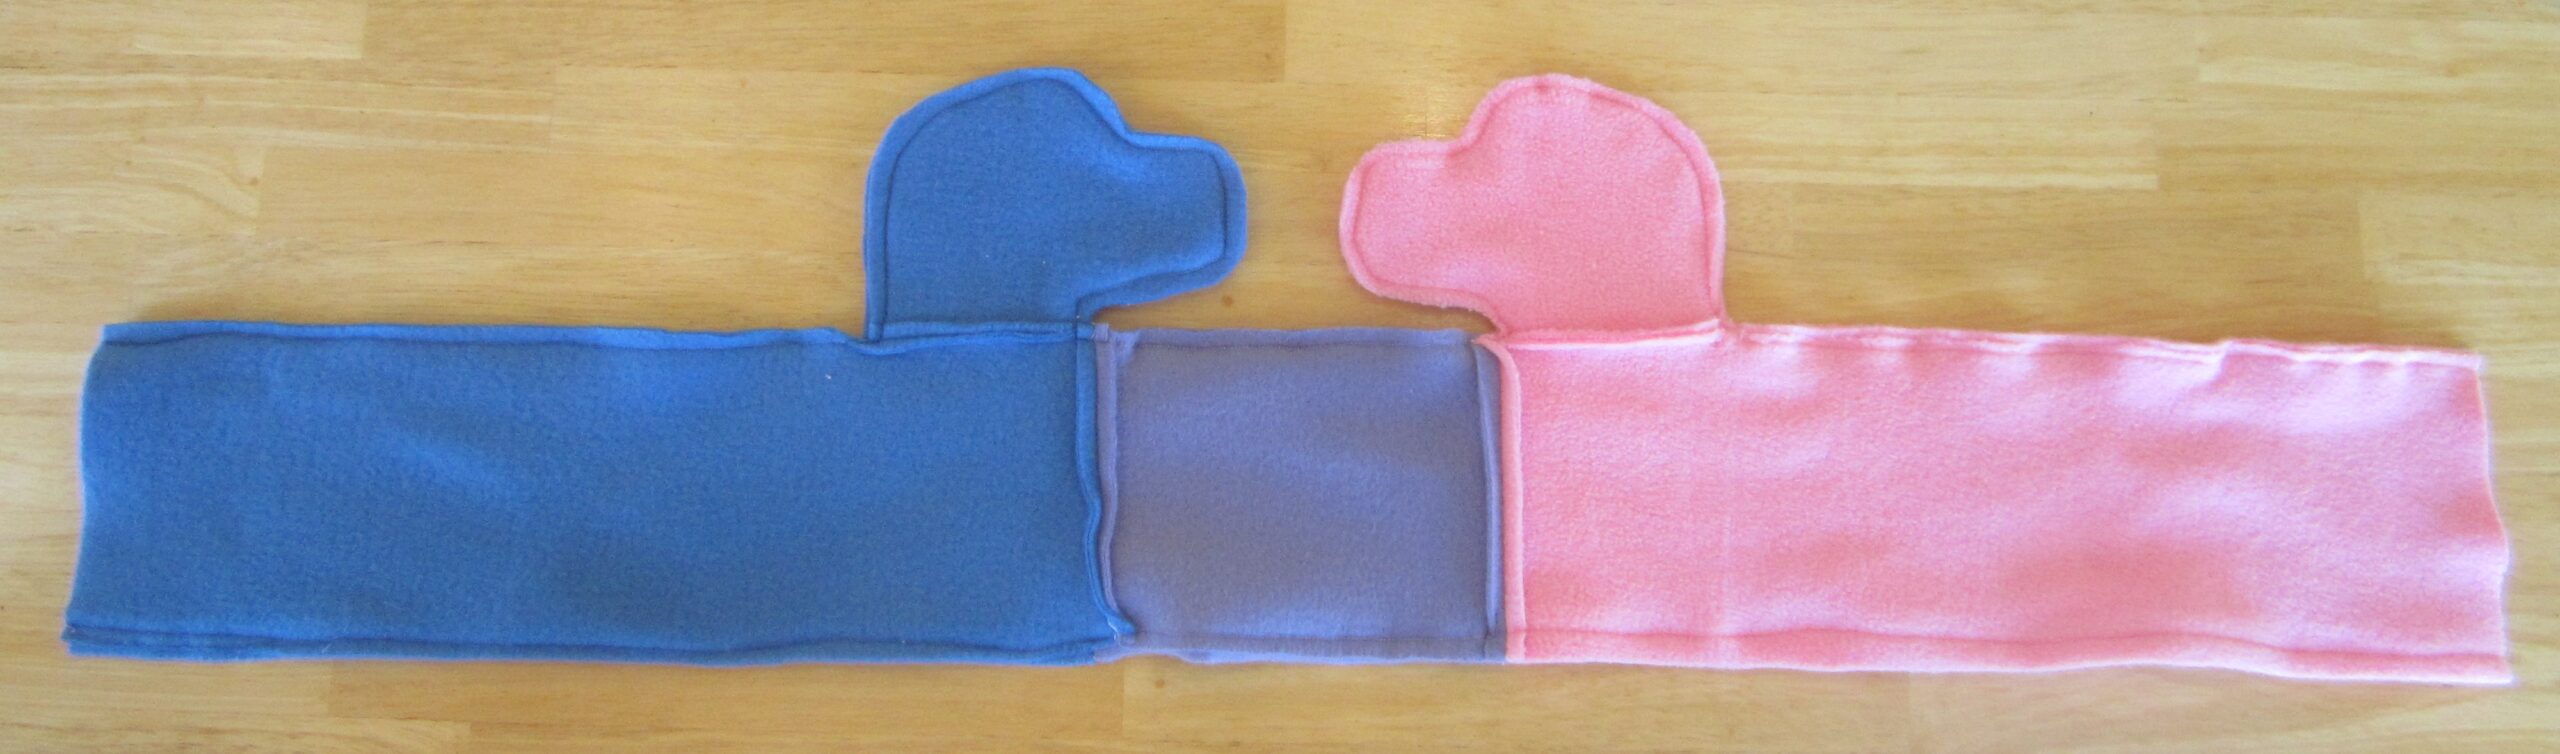
When it’s “three dog night” cold outside, place this adorable draft stopper along the bottom of the door to help block out the wind. Featuring two parent dogs facing each other and one sleepy puppy snuggled in the middle, it’s sure to brighten up any dreary winter evening.
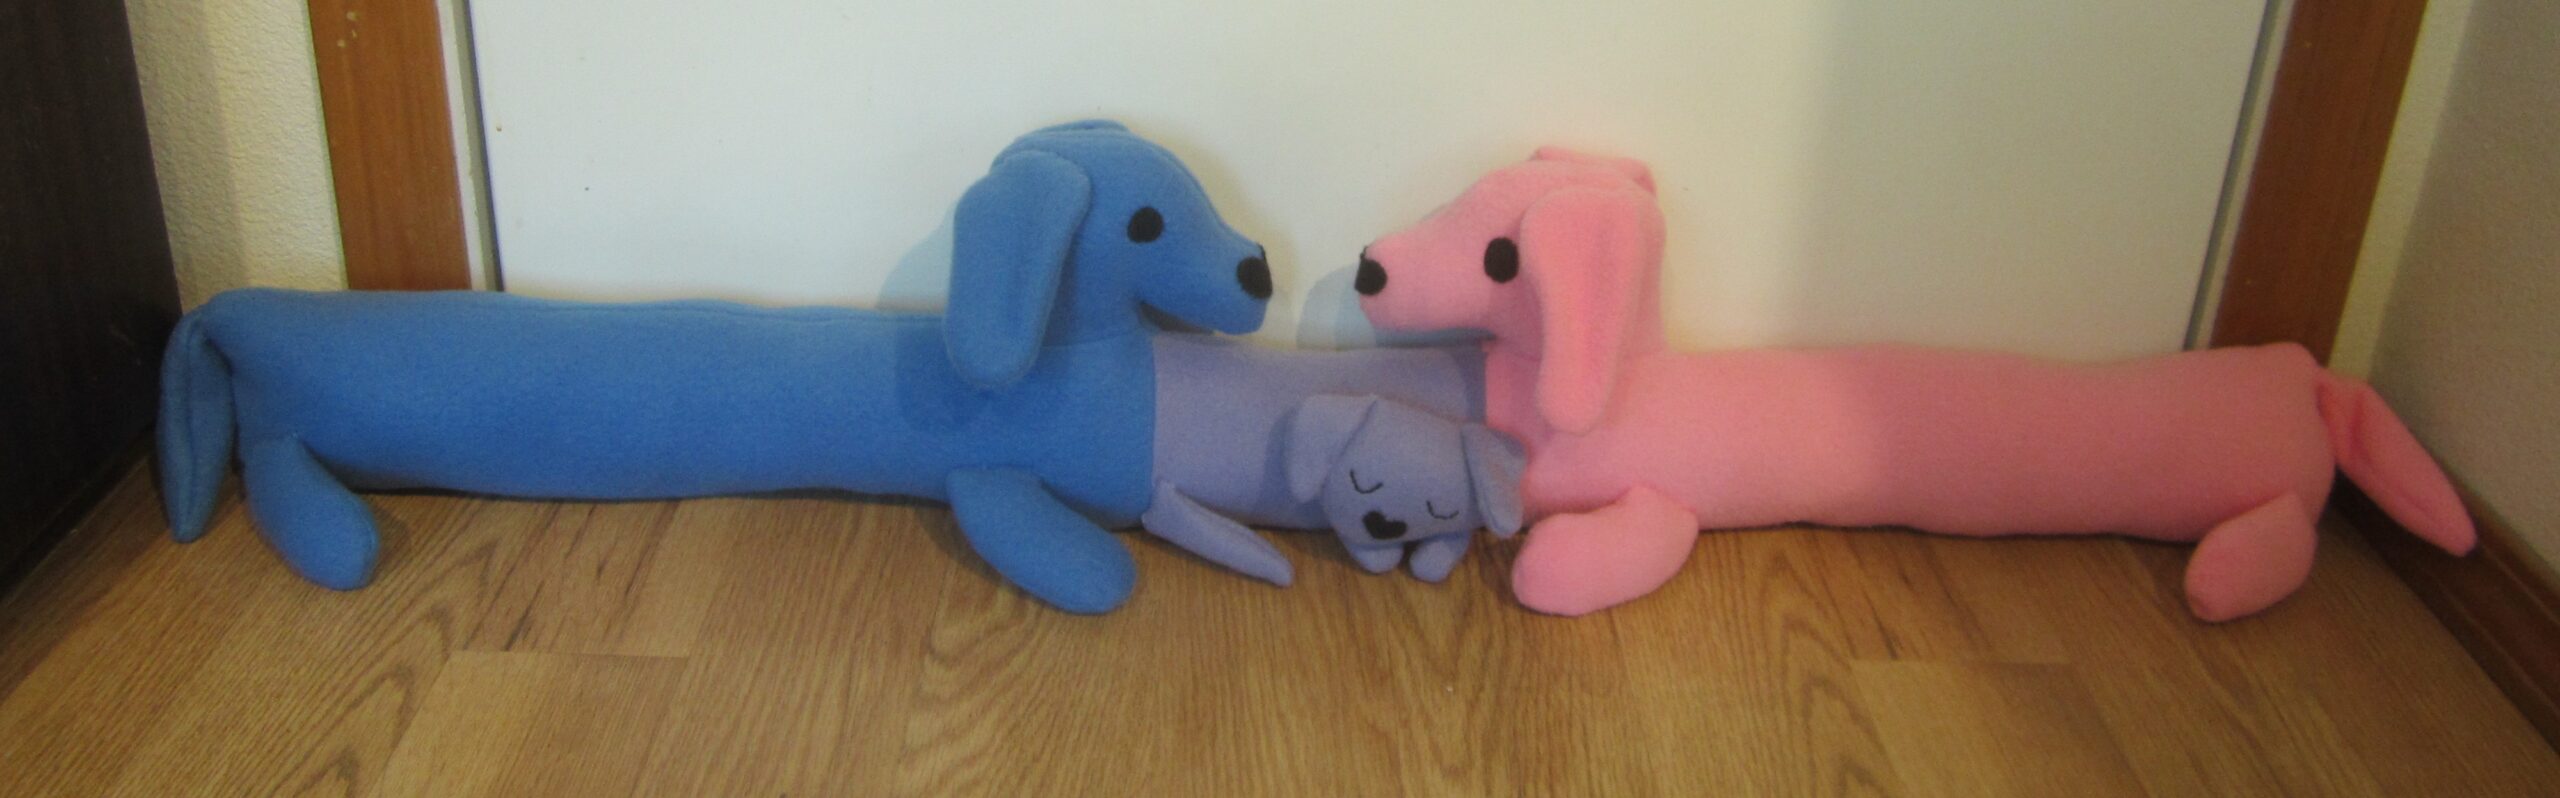
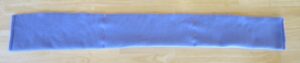
The finished draft stopper measures approximately 36 inches wide. To adjust the width of the draft stopper, simply adjust the length of the adult dog bodies. The draft stopper also includes a weight insert to help it stay in place against the door.
Supplies:
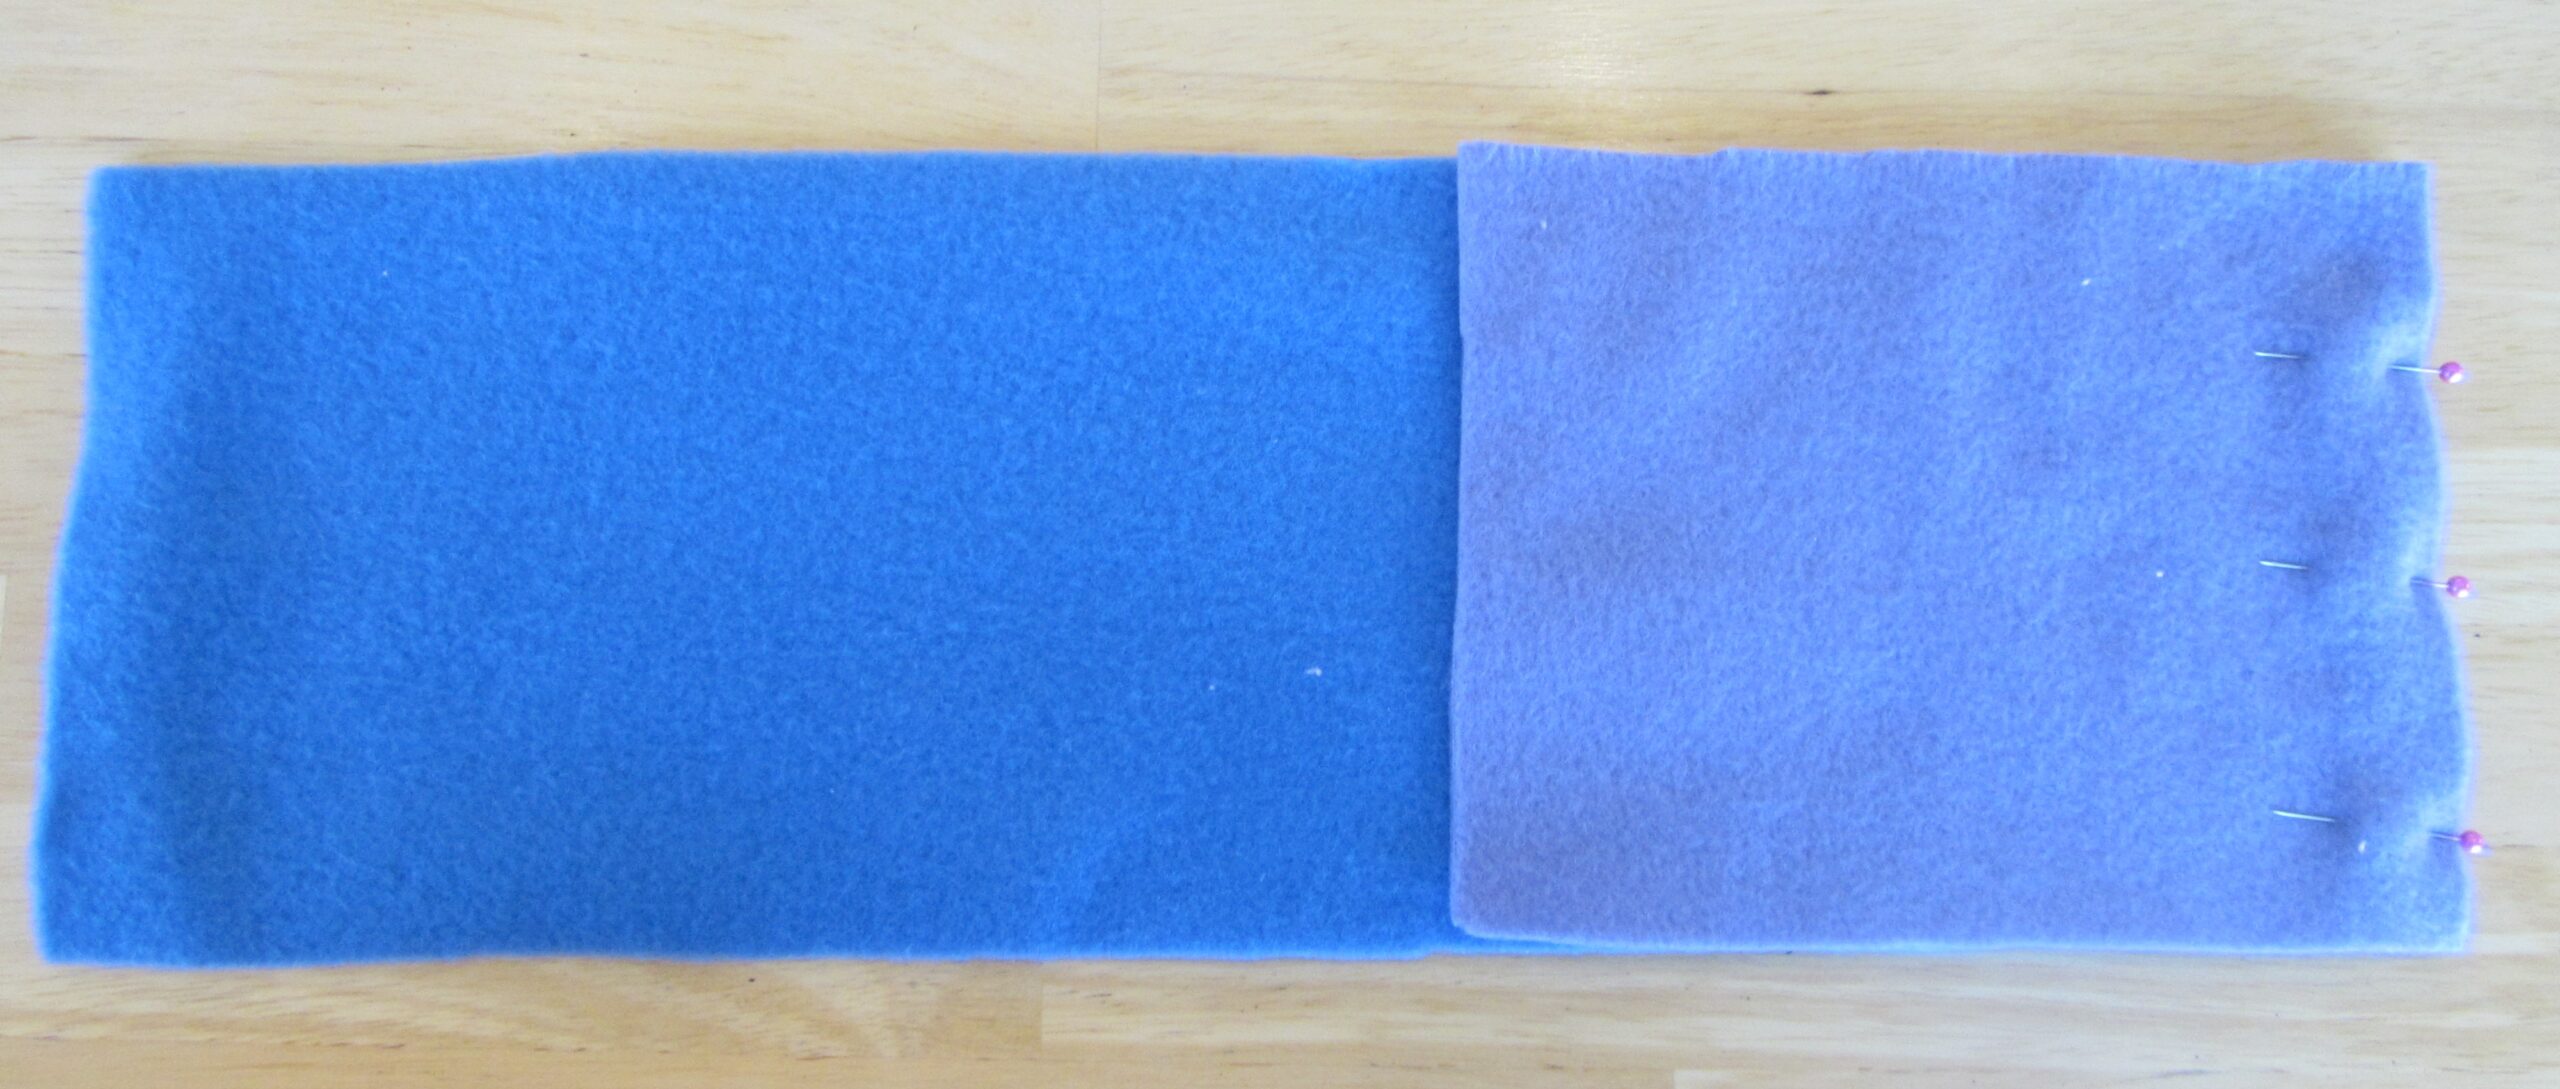
- ¼ yard blue fleece
- ¼ yard pink fleece
- ¼ yard purple fleece
- scraps of black felt
- blue, pink, purple, and black thread
- fine-tipped black fabric marker
- black embroidery floss
- stuffing
- 1 ½ pounds of small dried beans or poly-pellet weights
Note: Use ¼-inch seam allowance for all seams.
Print and Cut out the Patterns
- Download the threedognightpatterns two-page PDF file.
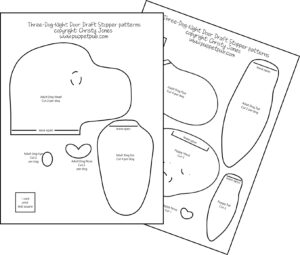
- Print the patterns on letter-size paper, making sure that the print options are set to “actual size”
- Check that the “1 inch print test square” actually measures 1 inch square to ensure the patterns printed at full size.
- Cut out all the patterns.
Prepare the pieces
Note: Most fleece looks the same on both sides, but anti-pill fleece may have a different texture on one side. If you are using anti-pill fleece, be sure to flip the patterns over after each use, so that you have pairs of pieces facing opposite directions. (One head facing each direction, two right paws and two left paws, and so on.)
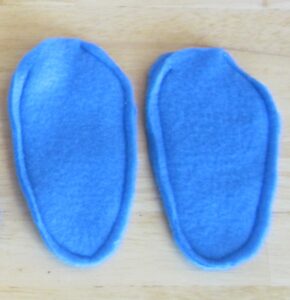
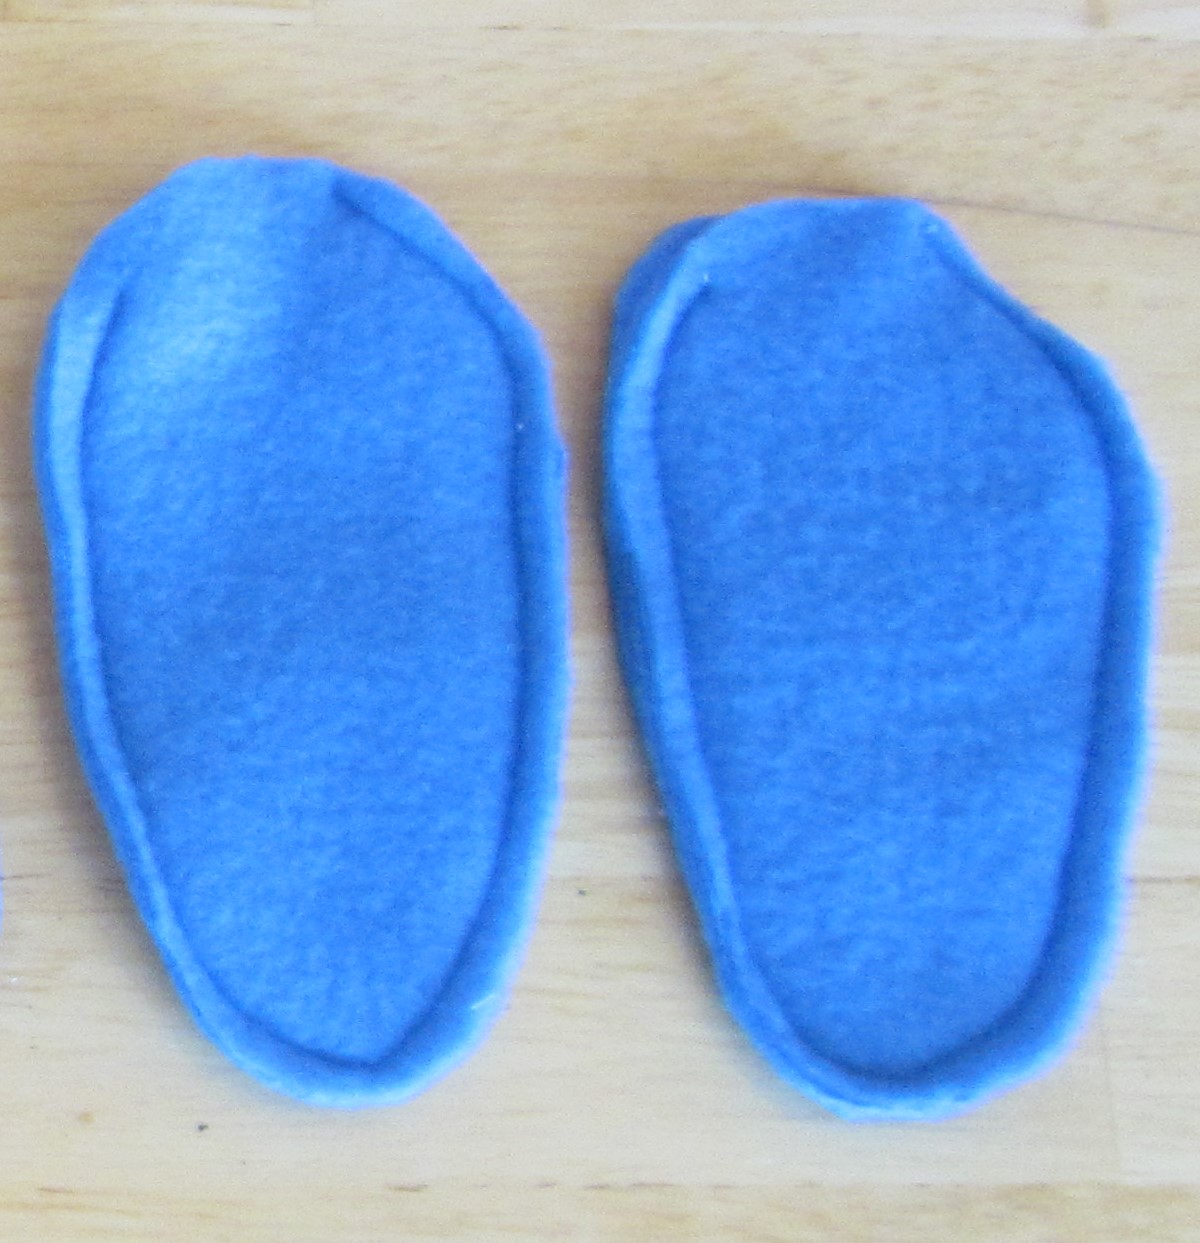
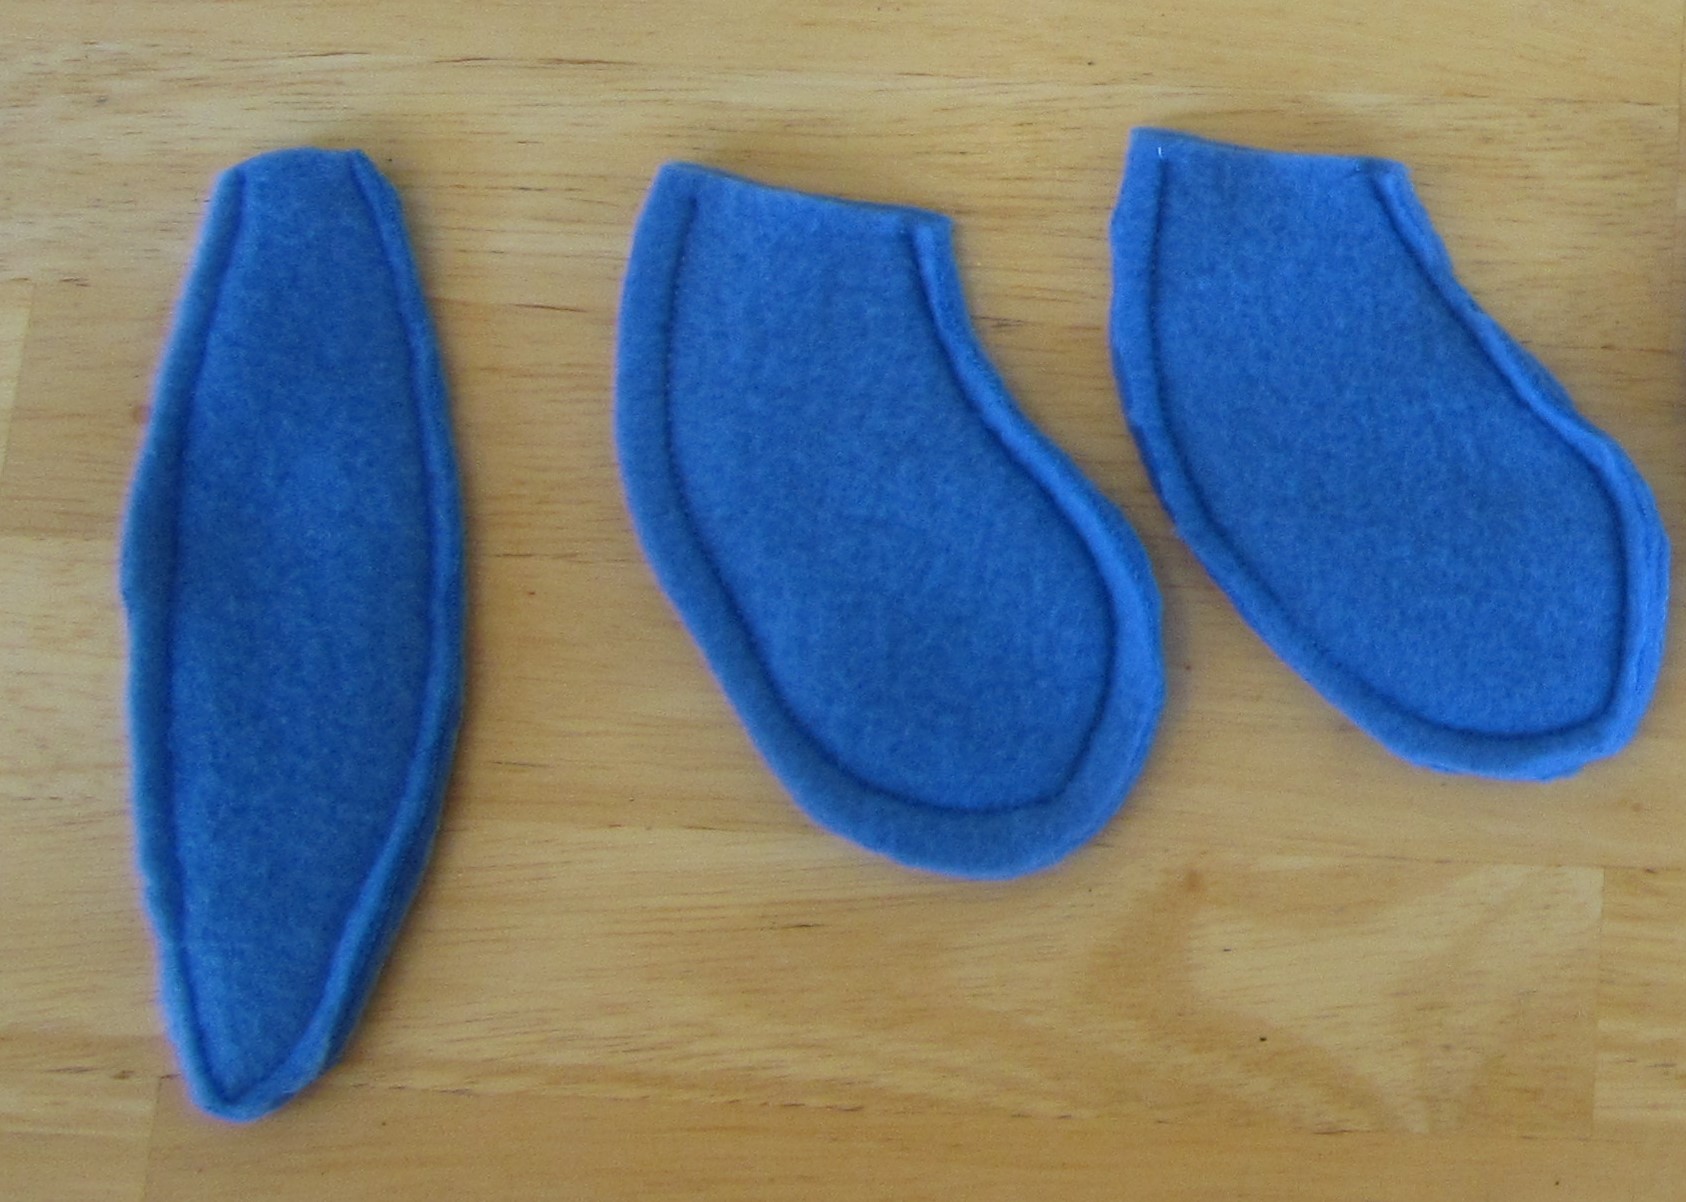
- Use the adult dog patterns to cut out 2 heads, 2 tails, 4 paws, and 4 ears from blue fleece. Cut 2 rectangles for the adult dog body, each 5 ½ x 16 ½ inches.

- Cut the same pieces from pink fleece.

- Use the puppy patterns to cut out 2 heads, 2 tails, 4 paws, and 4 ears from purple fleece. Cut 2 rectangles for the puppy body, each 5 ½ x 7 inches. Cut a rectangle for the weight insert, approximately 7 x 36 inches.

- Cut out 4 adult dog eyes and 2 adult dog noses from black felt. Cut 1 puppy nose from black felt.
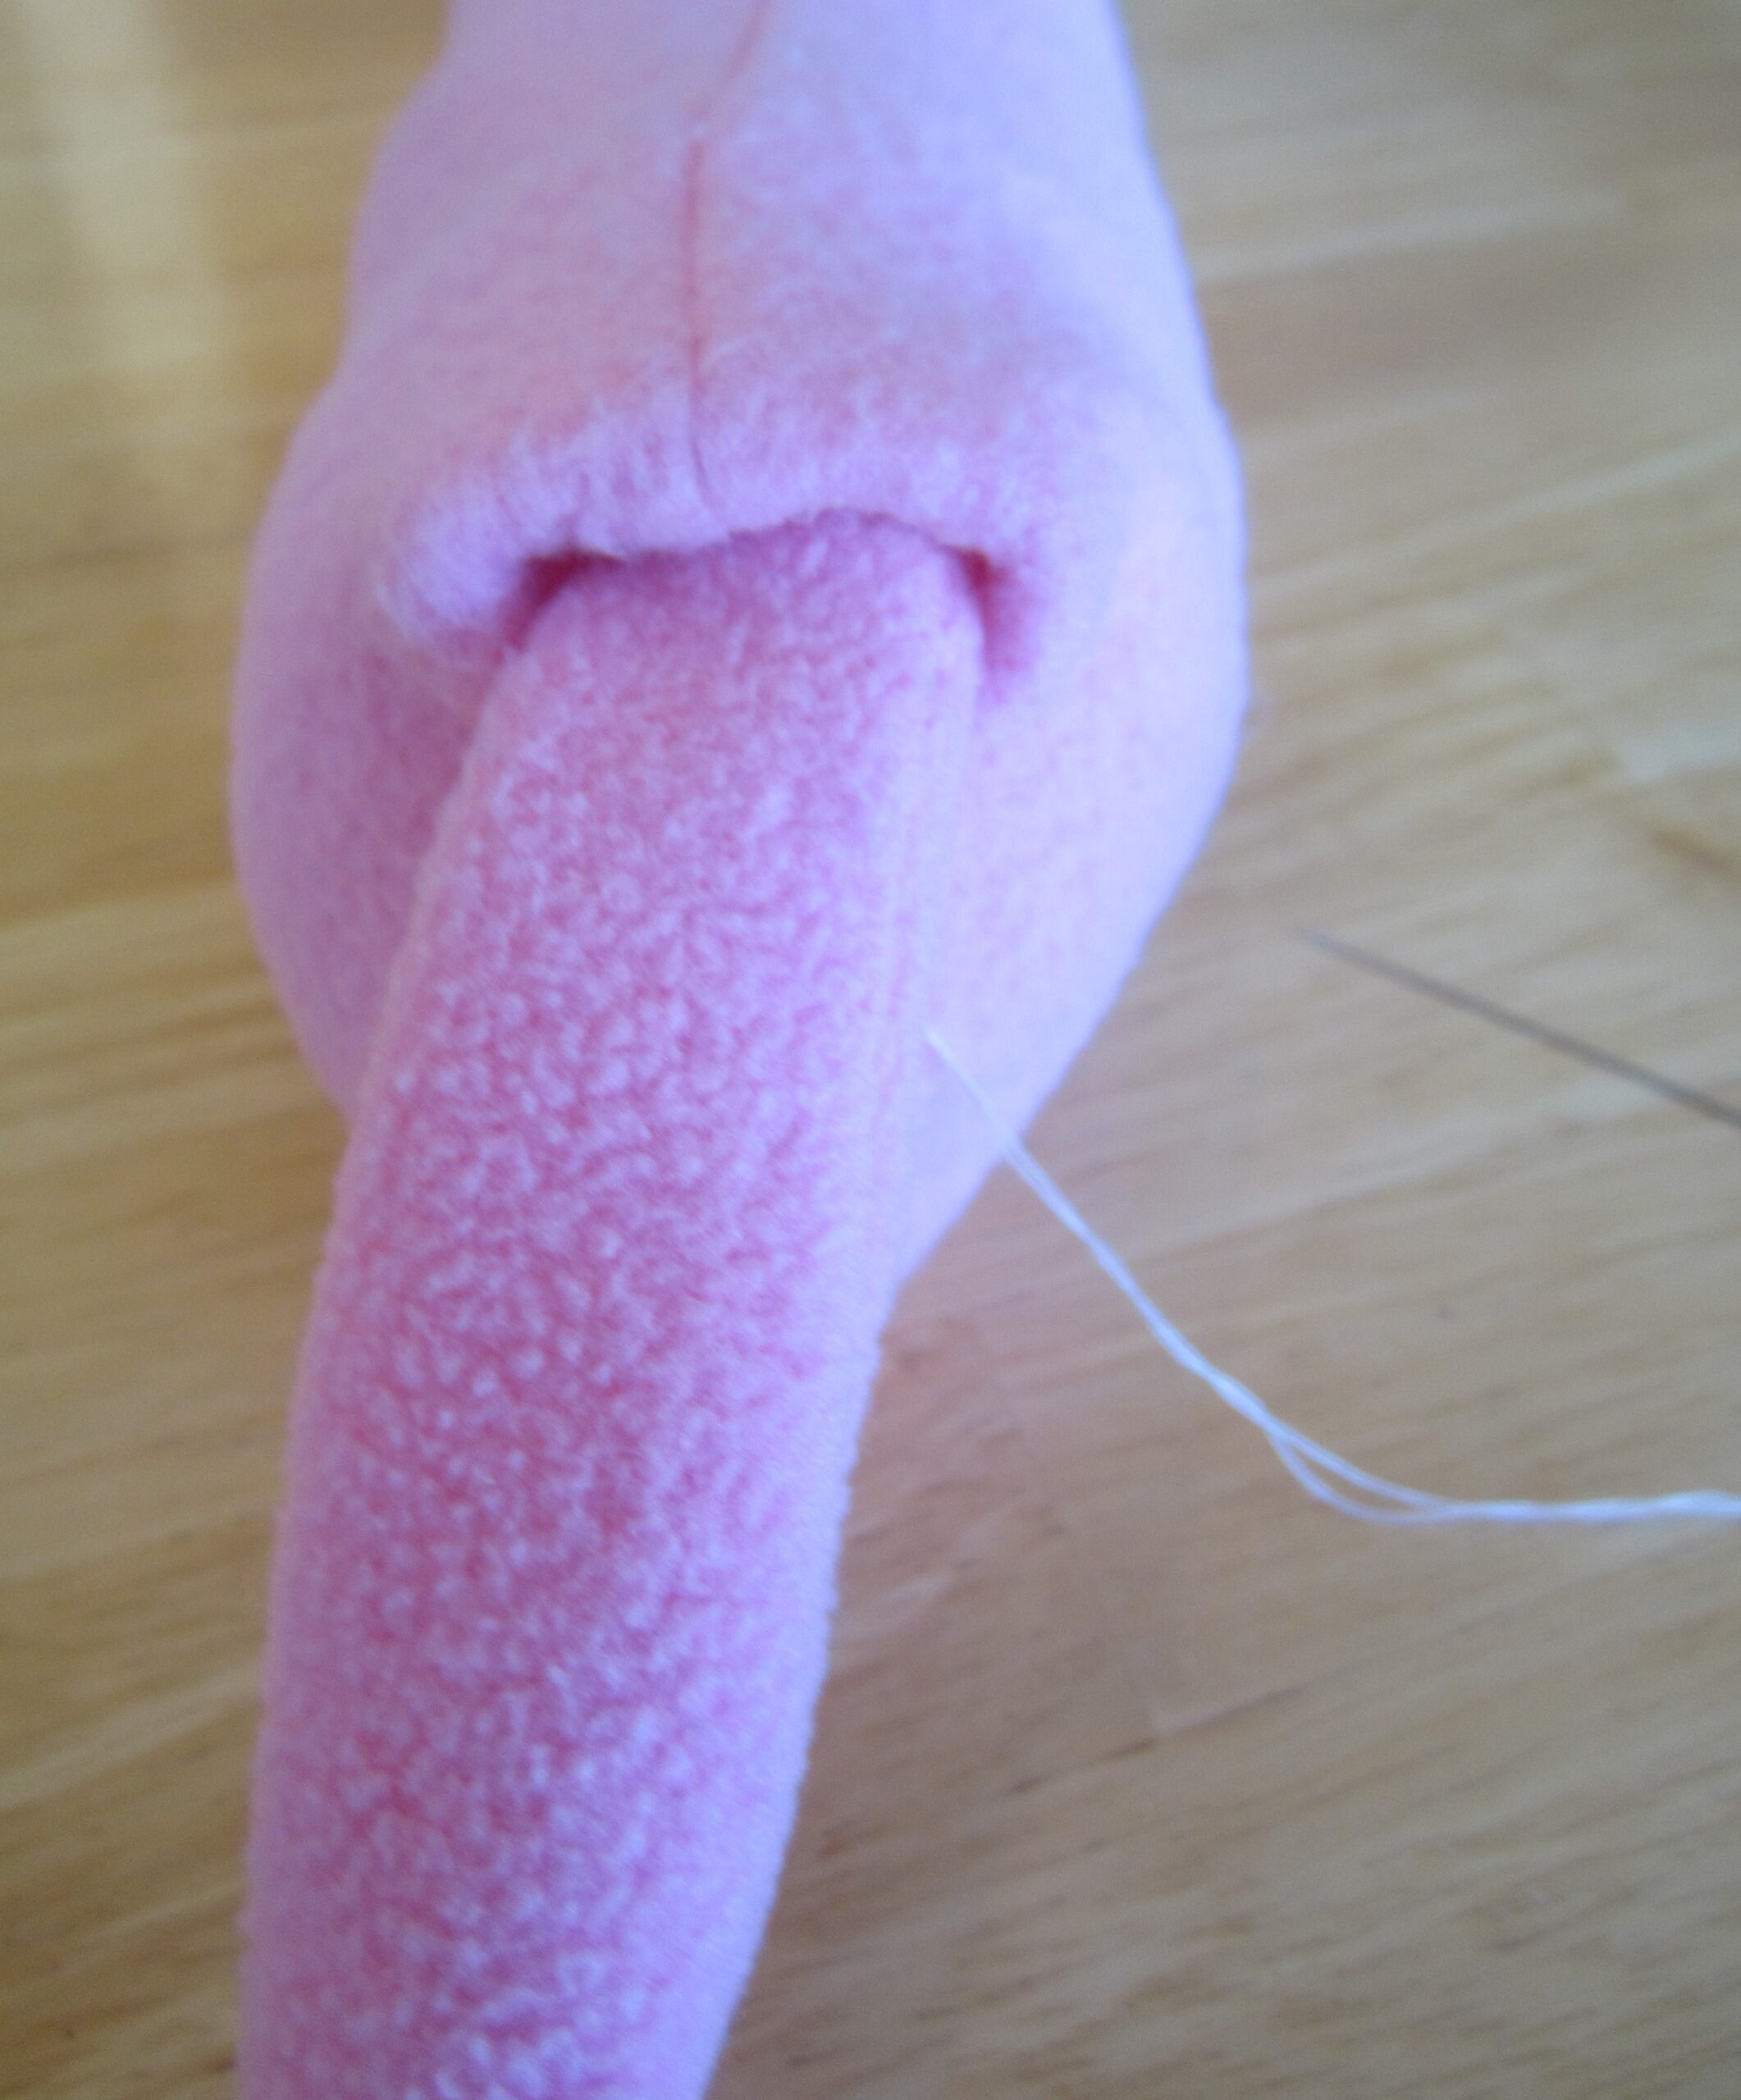
- Position one adult dog eye on each head. Whipstitch in place using black thread.
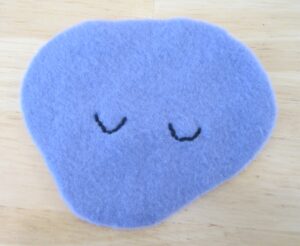
- Use the fine-tipped fabric marker to mark the u-shaped puppy eyes on one of the purple head pieces. Stitch over the eye lines using black embroidery floss.
- Position the black felt puppy nose below the eyes. Whipstitch in place.
Sew the dog bodies
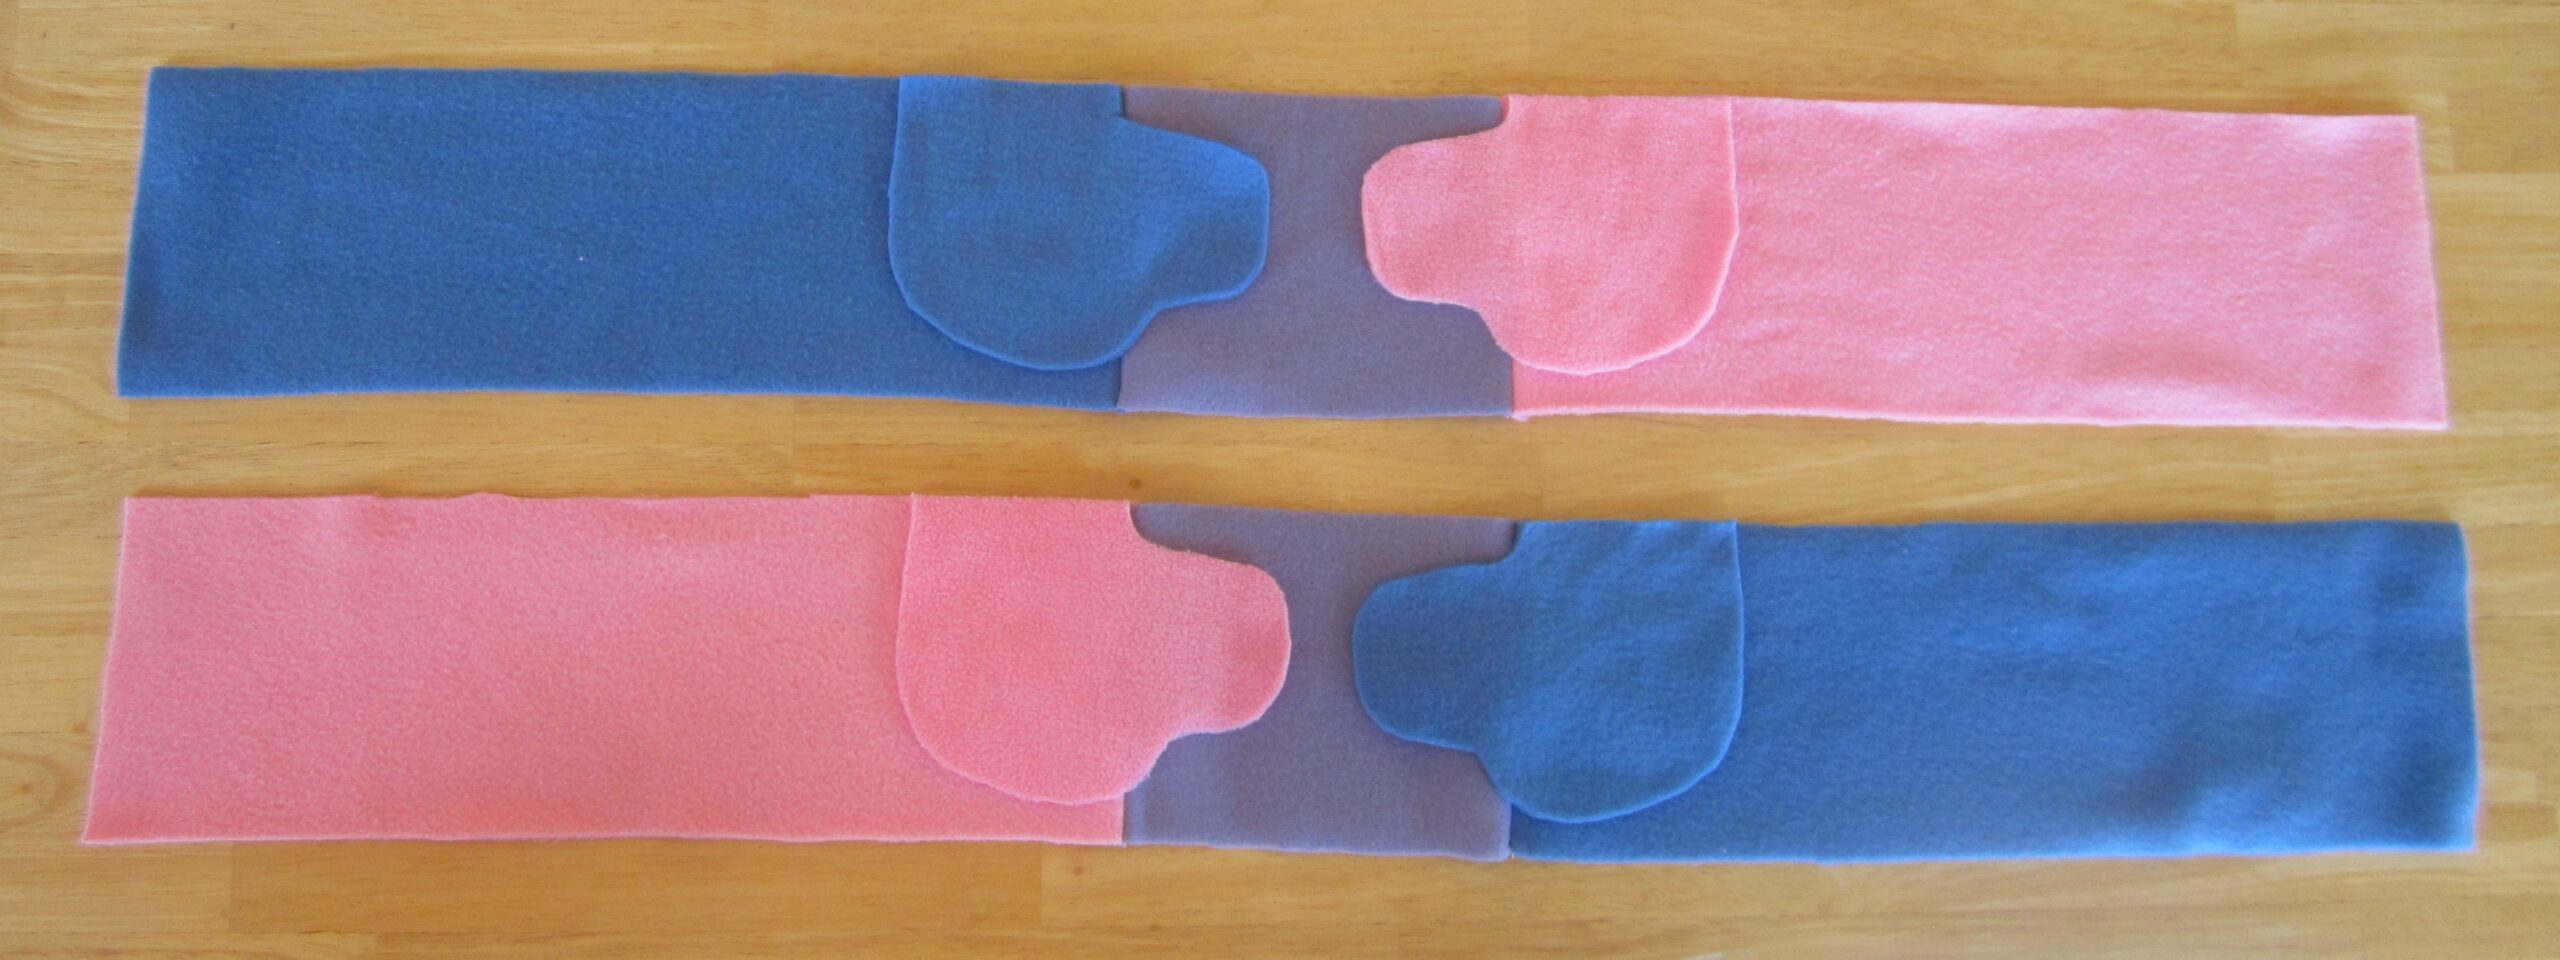
- Place a puppy body rectangle and a blue dog body rectangle right sides together, lining them up along the right edge. Pin them together, then straight stitch along the edge.

- Unfold the purple body piece. Place the opposite end of the purple body piece and a pink body piece right sides together. Stitch the ends of the pink and purple fleece together, making one long strip of blue, purple, and pink.
- Sew the other blue, purple, and pink pieces together the same way.
- Rotate the second strip so that it is pink, purple, blue.
- Place an adult dog head piece right side down on each pink and blue rectangle, lining up the lower edge of the neck with the upper edge of the body. Line up the front edge of the neck with the seam of the purple fabric.

- Stitch across the straight edge of each neck, then flip the heads up.

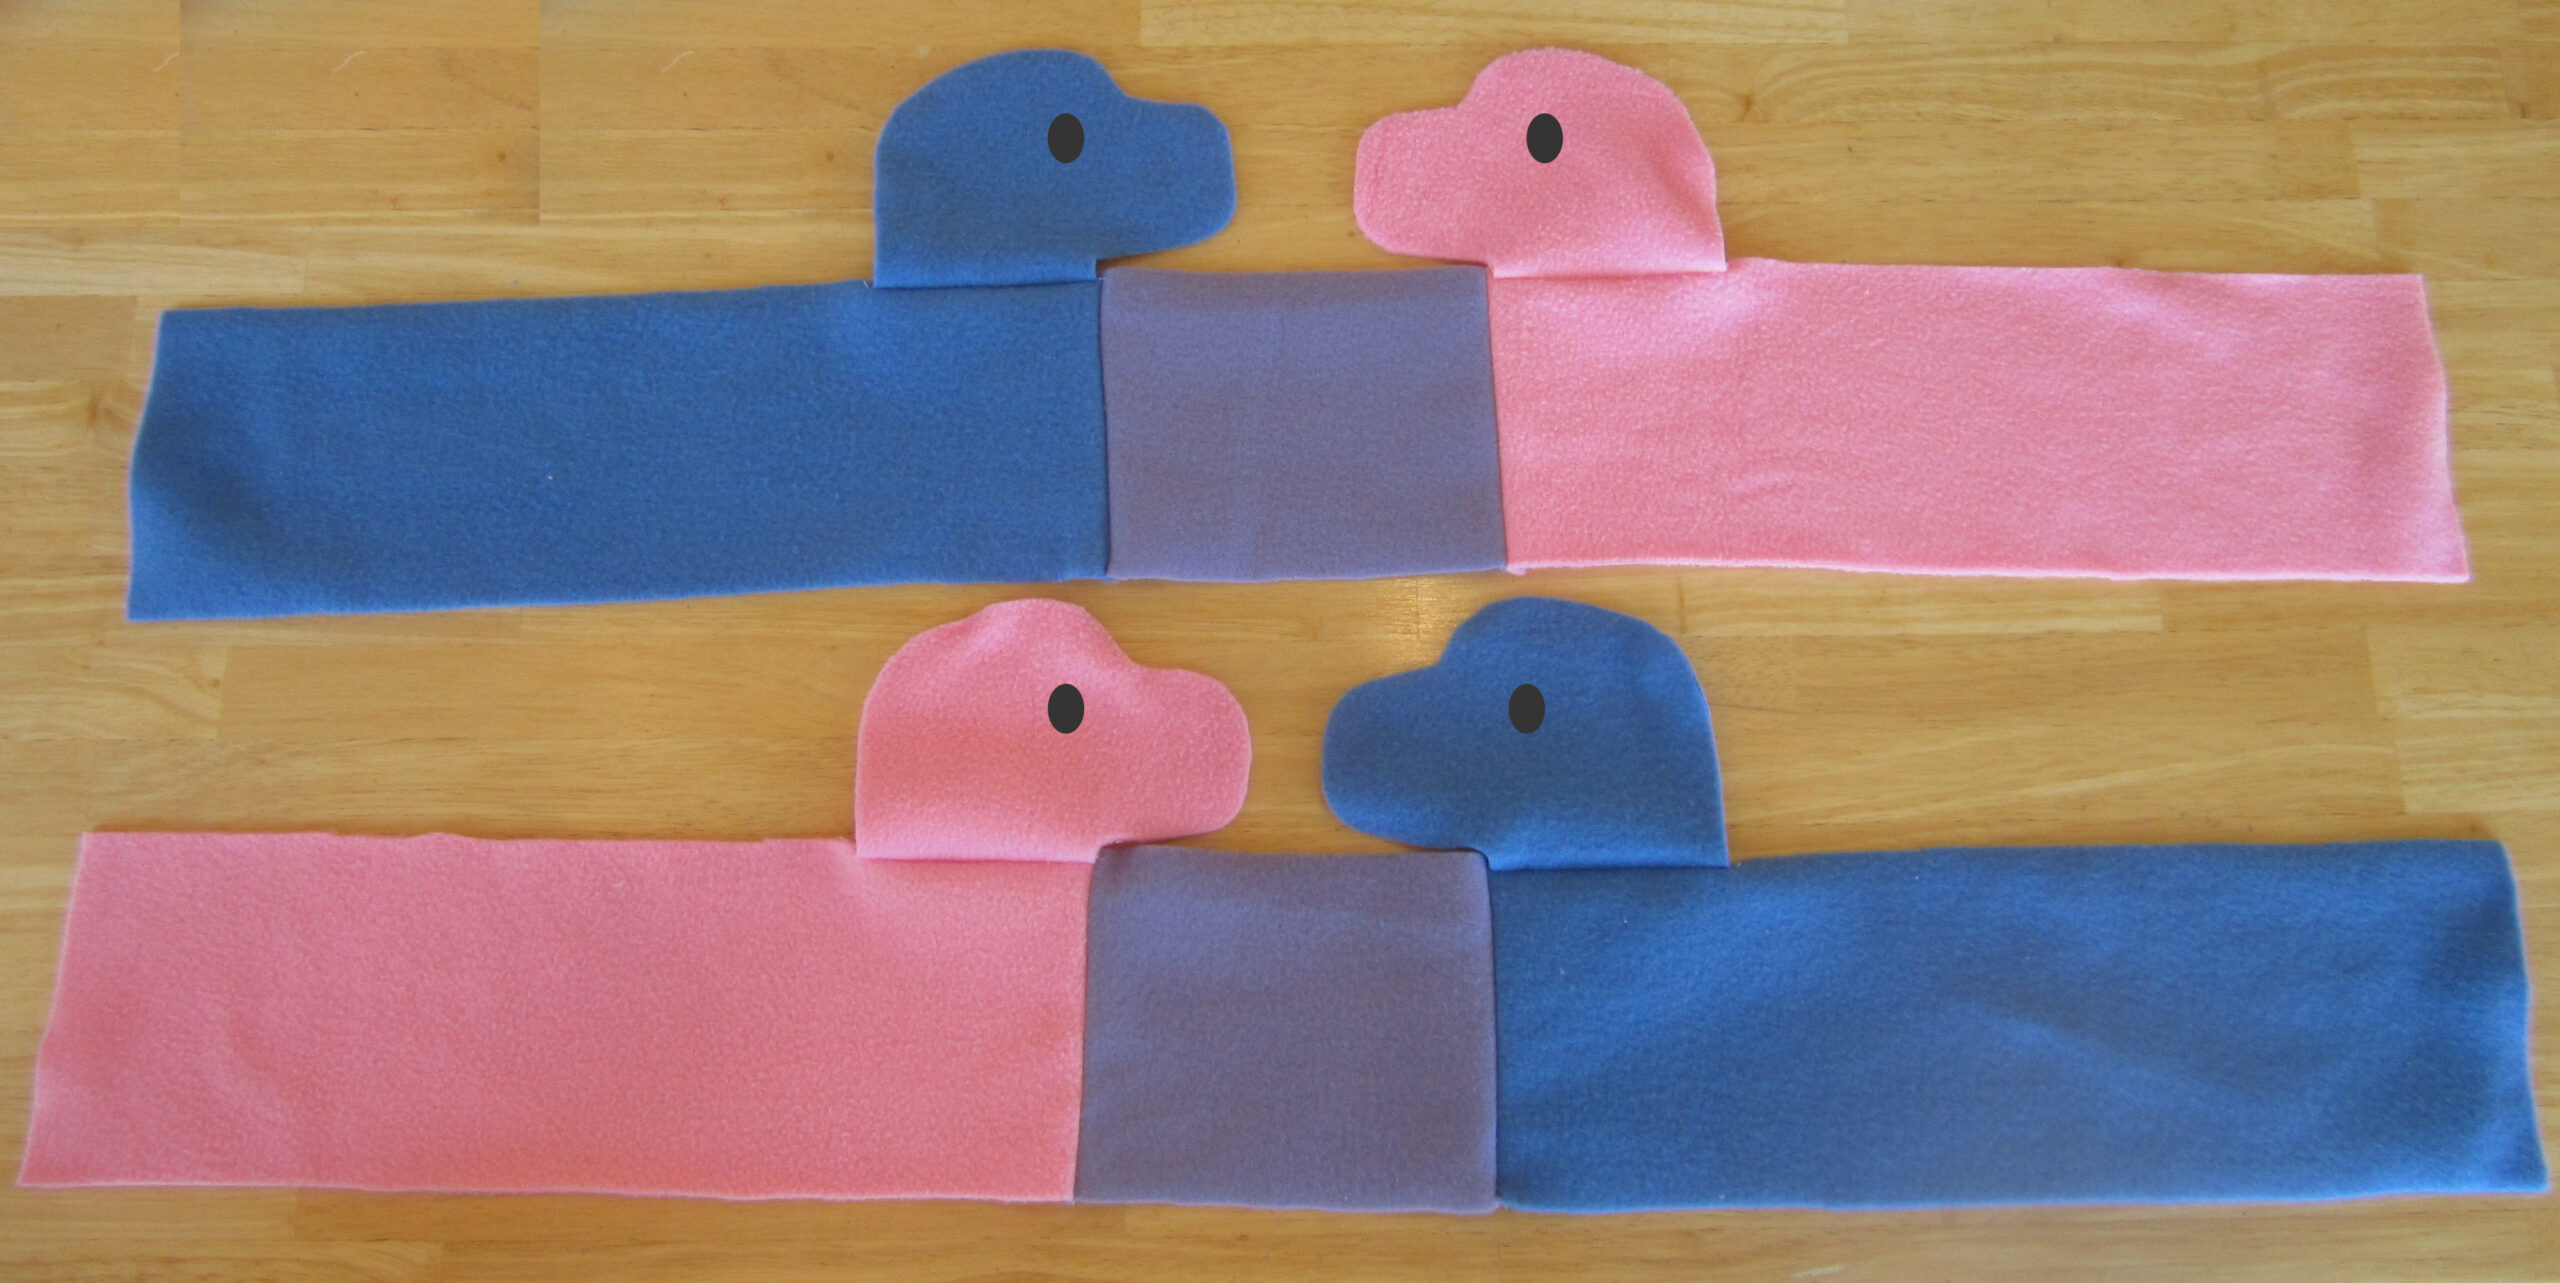
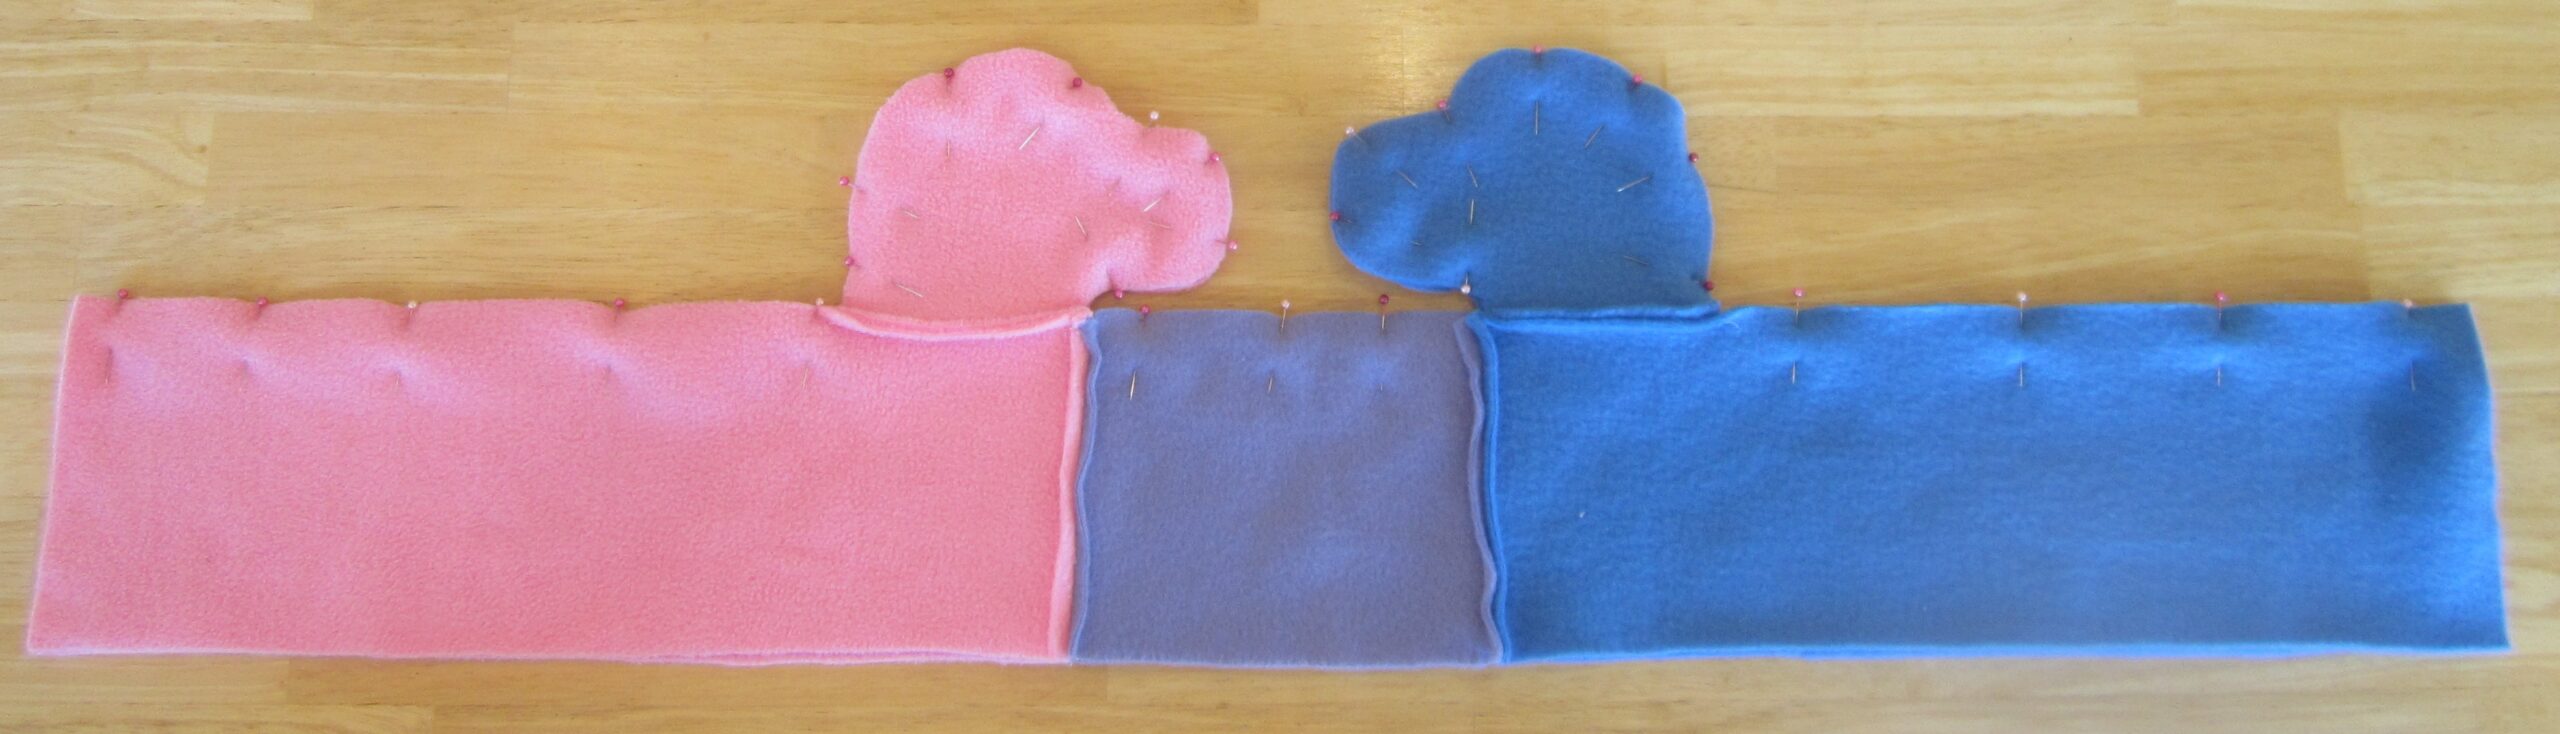
- Place the two halves of dogs right sides together, lining them up along all the edges. Pin them together.

- Stitch the dog bodies and heads together along the upper and lower edges, leaving the short ends open.

- Turn the dog bodies and heads right side out.
Sew the ears, paws, and tails
- Place two blue ears right sides together. Stitch them together, leaving the upper edge open. Sew the other two blue ears together the same way. Do the same for the two blue tails, and for the pairs of blue paws.

- Sew the pink ears, tail, and paws together same way.
- Sew the purple ears, tail, and paws together the same way.
- Sew the puppy head front and back together the same way.
- Turn all the pieces right side out.
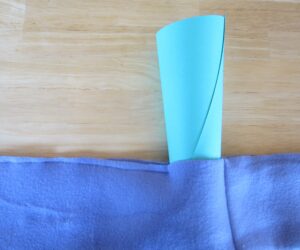
Make the weight insert
- Fold the weight insert in half lengthwise (so that it’s approximately 3 ½ inches high by 36 inches long).
- Stitch along each short end of the weight insert.
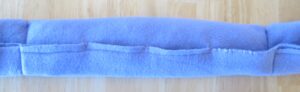
- Divide the insert into three sections, using pins to mark ⅓ and ⅔ of the way across the insert. Stitch from top to bottom along these lines. (This divides the insert into three sections, and helps keep the weights evenly distributed, so they don’t all bunch up at one end.)
- Stitch along the upper edge of the insert, leaving an opening about 2 inches wide in each section.
- Roll a sheet of paper into a cone and insert it into one of the openings. Pour in ½ lb of dried beans or weights. Whipstitch the opening closed, using tightly spaced stitches (so the weights don’t slip out).
- Repeat this step for the remaining two sections.
- Fold over the top of the insert and tack it down with a few stitches. This makes it into a snug tube that will be easier to slide into the door draft stopper.


Stuff and finish the project
Note: The dogs only have paws on the front of the door draft stopper (the side that faces the room). This prevents the legs from creating a gap between the draft stopper and the door.
- Stuff the adult dog heads, the puppy head, and all of the dog and puppy paws. Leave the ears and tails unstuffed.
- Pull the weight insert inside the dog bodies. Fill the area above the weight insert with stuffing.
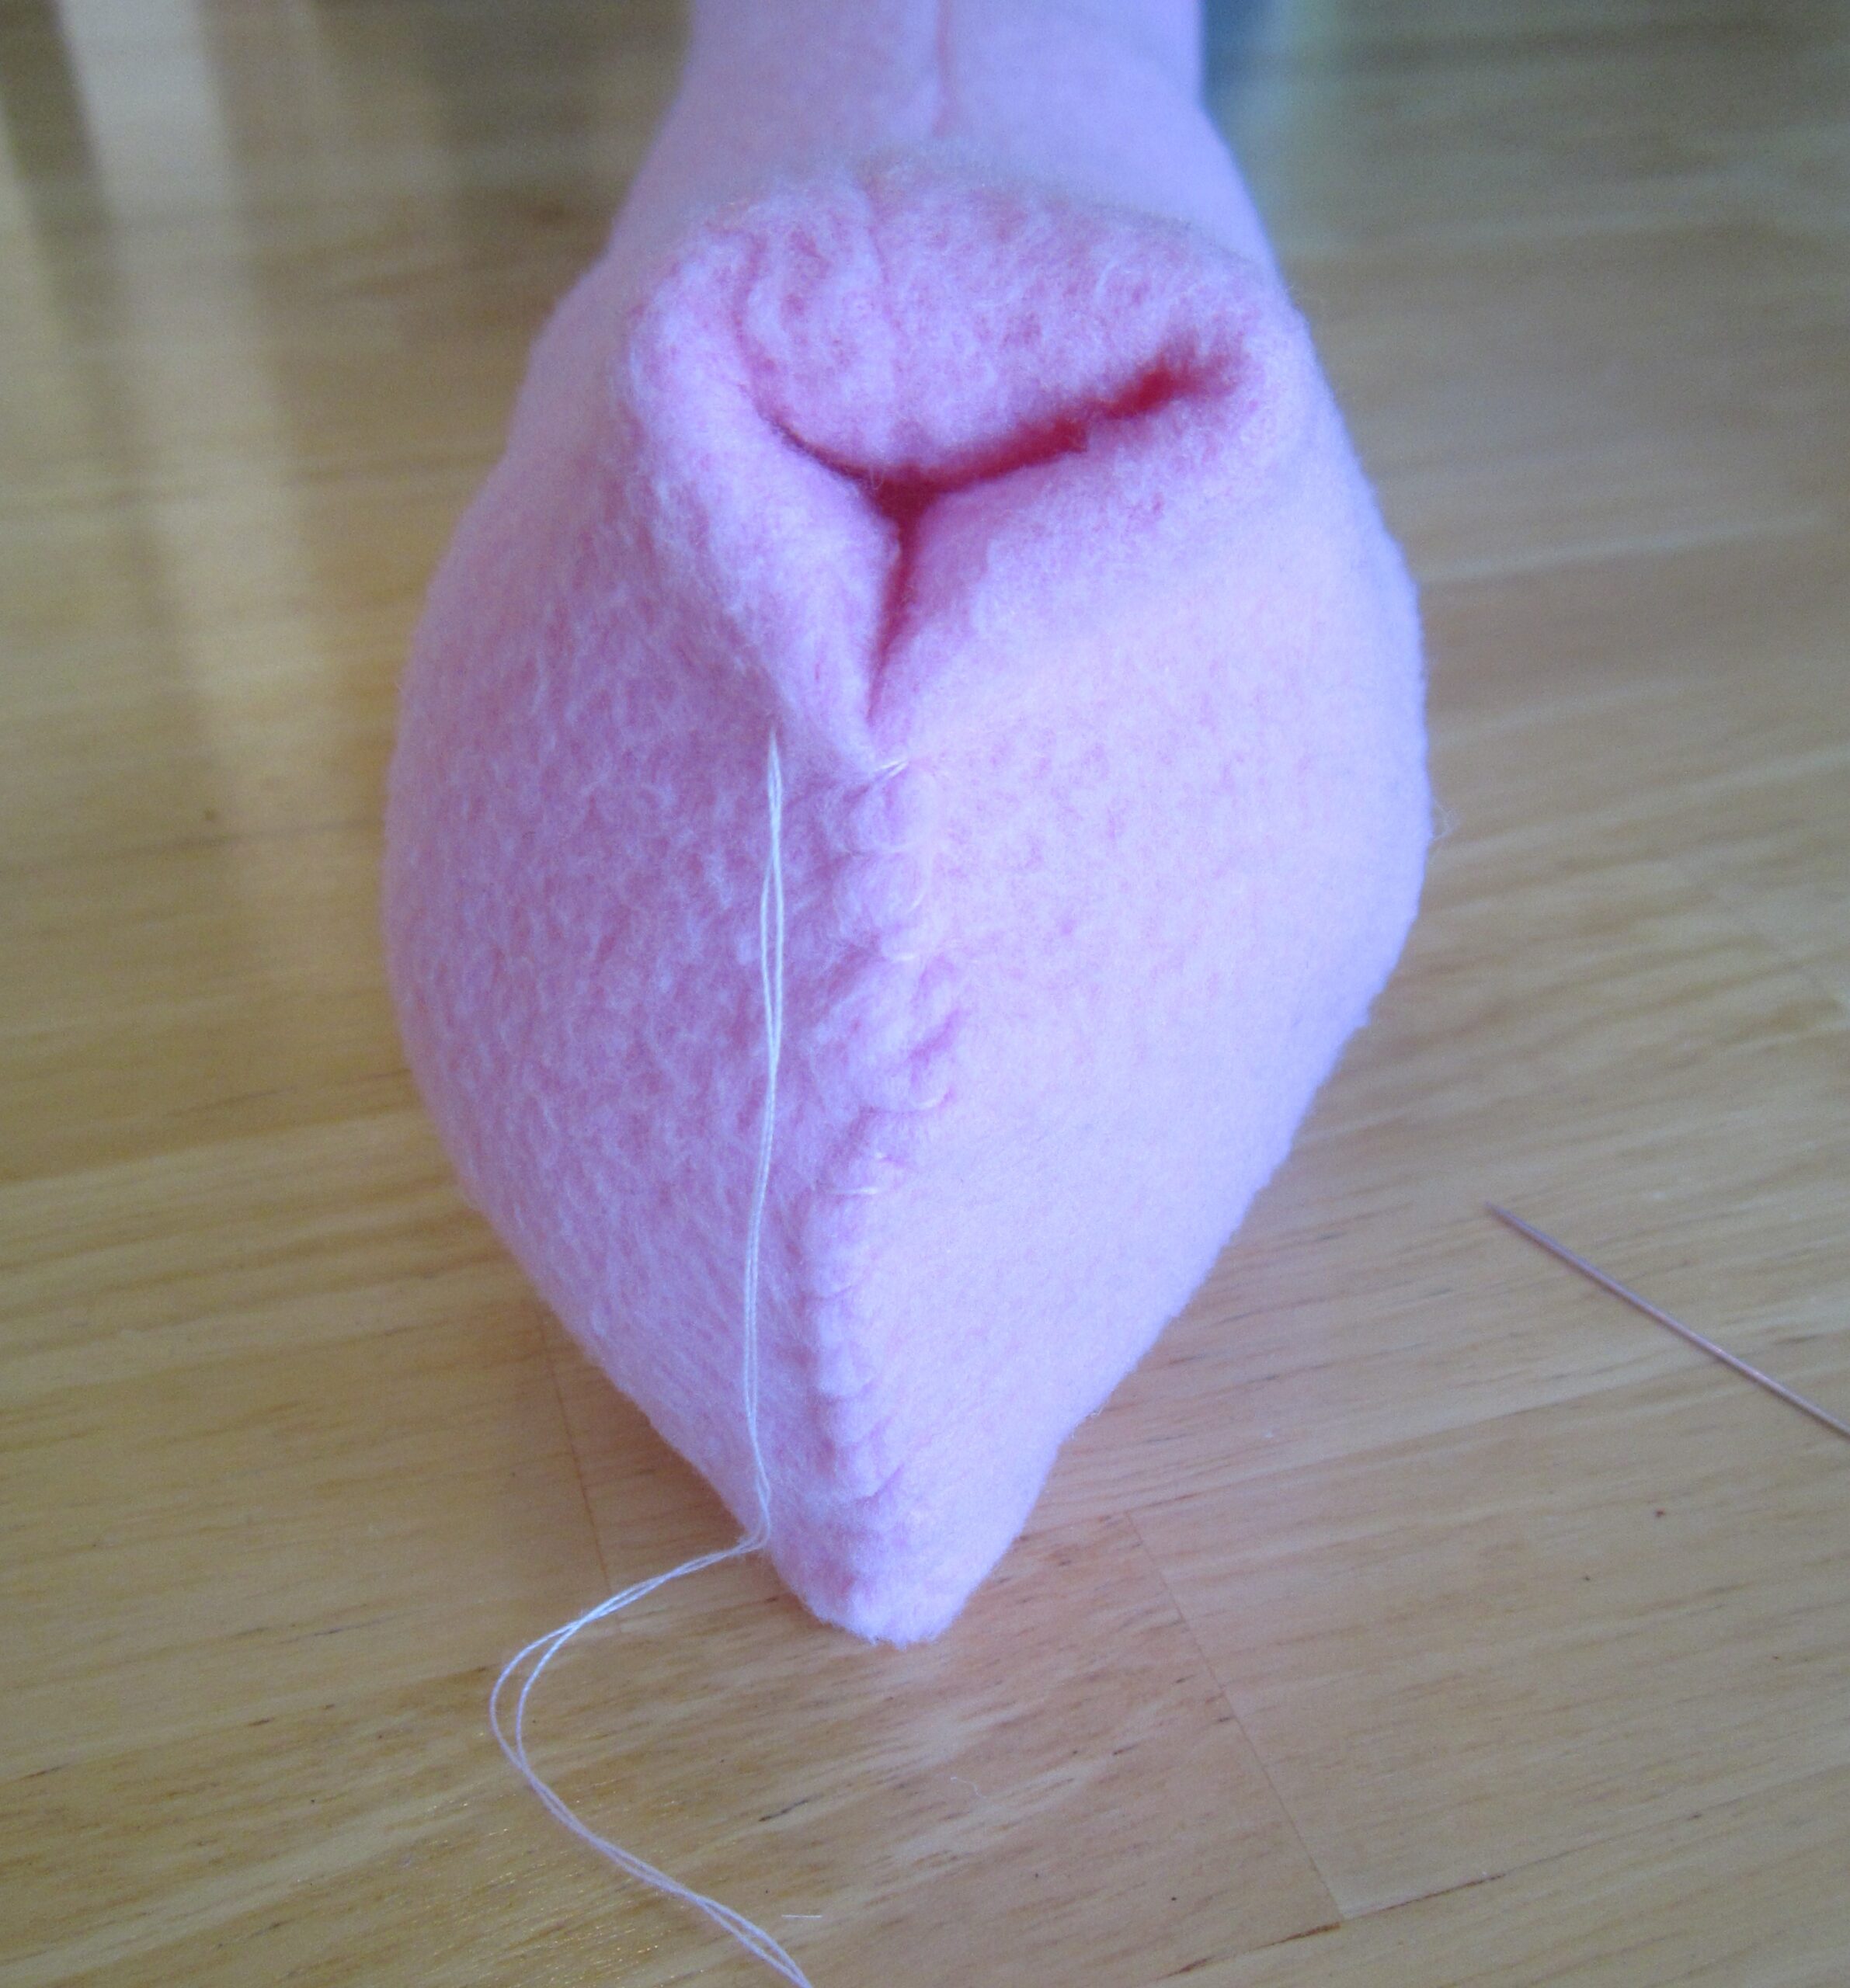
- Position a black felt nose on each adult dog head. Whipstitch each nose in black using black thread.
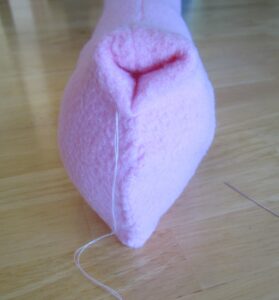
- Turn the end of the pink dog body to the inside. Whipstitch the end closed using pink thread, stopping about 2 inches from the top.
- Insert the end of the tail into the opening. Whipstitch the tail in place. Sew the blue end of the dog (and insert the tail) the same way, using blue thread.

- Fold the raw edges of the adult dog ears to the inside. Whipstitch the ears closed using matching thread, then position them on the heads and whipstitch them in place. (You may complete both steps with a single row of whipstitching if you prefer.)
- Lightly stuff the puppy head. Turn the raw edges to the inside and whipstitch closed using matching thread. Attach the puppy ears to the puppy head the same ways as the adult dog ears.

- Position the puppy tail and paws on the puppy body, and whipstitch them in place. Do the same for the puppy head, using several whipstitches on the back of the head.

Enjoy the completed door draft stopper!